
To make a space live on the Hire Space platform, there are a few essential steps that must be completed, other than optional ones, to ensure it meets visibility requirements and is ready to be discovered by potential clients.
The process begins with completing the Basic Details of the venue. This includes providing a clear and accurate description of the venue as well as the correct location. Once these fields are filled in, you must scroll down and click the green “Update Basic Details” button to save your changes.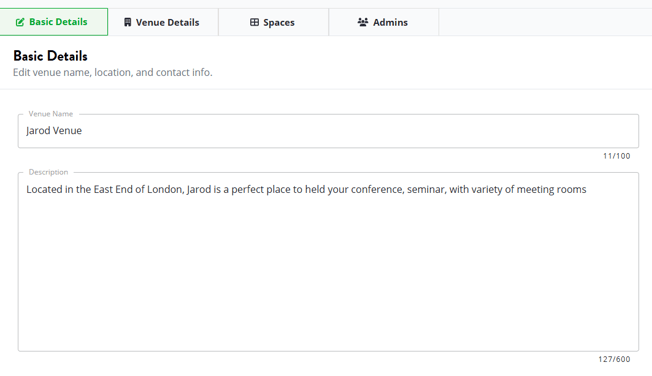

Next, proceed to the Venue Details section, where you should add at least one feature that describes the venue more specifically—this could be anything from Wi-Fi to outdoor space availability. After entering this information, make sure to click “Update Venue Details” to confirm.
With your basic venue information in place, the next step is to move to the Spaces tab and select the specific space you would like to publish. For a space to go live, it needs to have at least one specialised profile assigned. These profiles indicate what types of bookings the space is suited for—such as Business, Dining, Events, etc (9 options available). You can select a minimum of one and a maximum of three profiles. Once you've selected the appropriate profiles, click “Update Specialised Profiles.”
Before moving on, it’s important to double-check the space name and ensure it is clearly identifiable. Once again, click “Update Basic Details” to save this information.

In the Details section of the space, a relevant description must be added for each specialised profile you've selected. If you've chosen one profile, only one description is needed; if you've chosen three, then three separate descriptions must be added, each tailored to the relevant profile type. In this same section, you will also need to define the capacities of the space—selecting the type (for example, theatre or boardroom) and entering a numerical value for how many people the space can accommodate.

After the Capacities, you need to select at least one Feature specific for your space (example, Wi-Fi).
Moving forward, photos are also a vital part of making your space live. In the Photos section, upload at least two images that clearly show the space and its amenities. This visual content helps clients get a better understanding of the space before booking.

In the screenshot above, in the bottom corner, you can see the "Update Business" button. Following your previous selections of categories/specialized profiles, depending on how many categories you have selected, you need to fill in the corresponding Details.
If you have selected only Business, at the end, you will click the Update Business button.
However, if you have selected 3 categories, the entire procedure applies to all 3. At the end of each category, you will have the option to Update/Save.
Finally, head to the Pricing section to define how your space is priced. You’ll be asked to select a pricing structure, which could include minimum spend, packages, hourly rates, evening rates, and more. After choosing the relevant pricing model, set the timing and input the pricing figures. When done, click “Save Updated Prices” to finalize.

Throughout the entire process, it is important to save each section by clicking the green update buttons. For each profile type you’ve selected—be it Business, Dining, or Events—you must ensure all related sections (description, capacities, features, photos, and pricing) are complete and saved.
Only when all of these components are completed and saved correctly will the space be considered live and made available to potential clients on the site.