Learn how to create and manage sponsors on Arena.
If you’re planning on having sponsors at your event, you’ll need to be able to display them to your attendees and send them leads. Arena makes it easy for you with our specially designed Sponsor Booths feature.
How do Sponsor Booths work?
Any sponsors you create on Arena will be displayed on the ‘Sponsors’ page for your event.
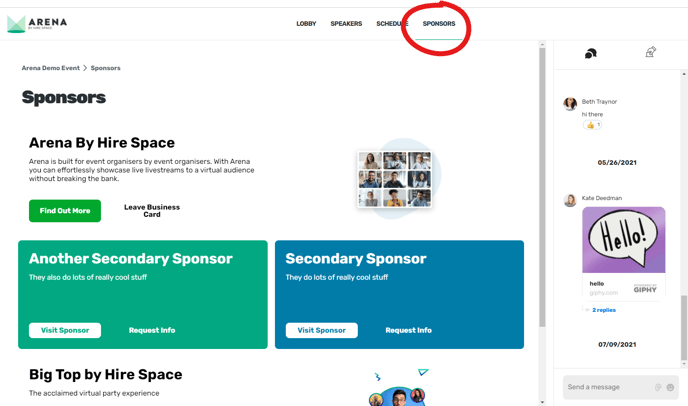
You can choose how much space to allocate to each sponsor based on whether they are ‘platinum,’ ‘gold’ or ‘silver’ sponsors. A platinum sponsor will appear as a banner that stretches the whole way across your screen. Meanwhile, gold sponsors will receive a spot that’s half the width of a platinum sponsor’s, and silver sponsors will receive a space that’s a third of the width.
For each sponsor, you can add two buttons with bespoke copy. The first is designed to send attendees directly to the sponsor’s website.
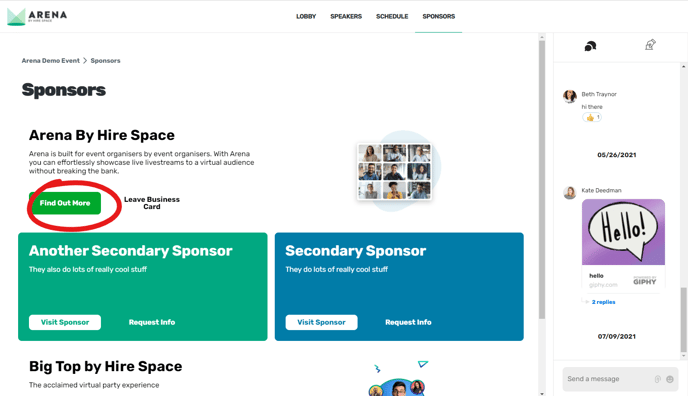
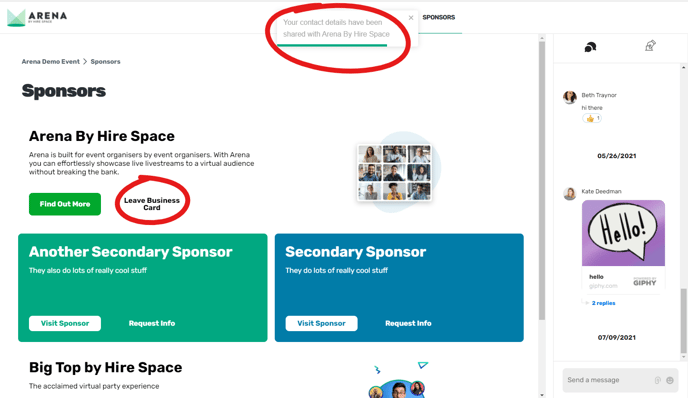
The second button will trigger the attendee’s contact information to be sent to the sponsor. This way, your sponsor can receive leads directly to their email address making it easy for them to follow up afterwards.
How to create a sponsor
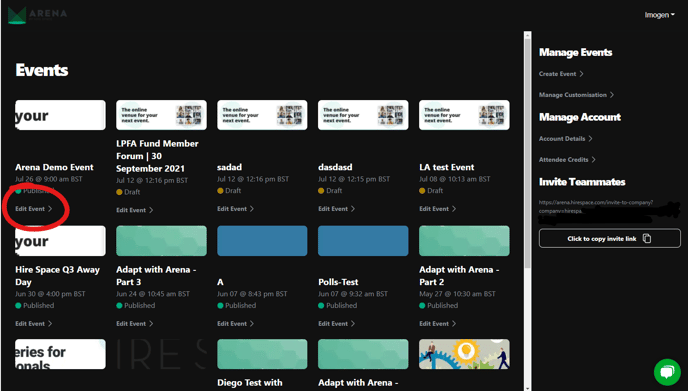
To create a sponsor on Arena, start by clicking ‘Edit Event’ beneath the event you want to edit on your central dashboard.
Then, click on ‘Create Sponsor’ down the right-hand side of your screen, beneath the ‘Manage Sponsors’ heading.
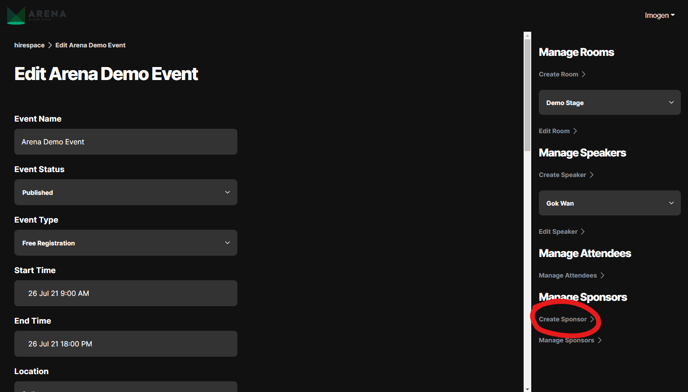
This will bring you to a form where you can set all the details for your first sponsor. You’ll need to fill in the following.
| Field | Details |
| Sponsor name | Enter the name of your sponsor. This should be written as you would like it to be seen by attendees. |
| Sponsorship level |
Use the drop-down menu to indicate whether your sponsor is:
This will affect how large their listing is on the ‘Sponsors’ page for your event. |
| Description | Enter a short description of your sponsor’s services to be displayed to attendees. |
| Text colour | Choose a colour for your sponsor’s description text. |
| Heading colour | Choose a colour for your sponsor’s name to appear in. |
| Sponsor logo | Upload your sponsor’s logo. Ideally, it should be a 2:1 ratio. |
| Background | Choose a colour or upload an image to act as the background for your sponsor’s listing on the ‘Sponsors’ page. |
| Sponsor link button |
This is the button your attendees can use to find out more about your sponsor. It should lead to an external site, usually your sponsor’s website. You’ll need to:
|
| Sponsor leads button |
This is the button attendees can use to send their details to your sponsor. You’ll need to:
|
As you can see, you can tailor your sponsors’ listings extensively, which gives you plenty of upselling opportunities. Once you’ve filled in these details, simply click the big green ‘Create Sponsor’ button at the bottom of the page.
How to manage sponsors
Now that you’ve created your sponsors in Arena, you’ll need to know how to manage them.
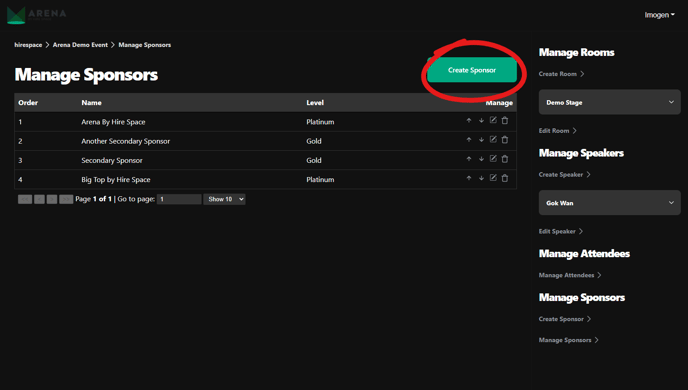
Head back to your ‘Edit Event’ page but this time, instead of clicking ‘Create Sponsor,’ simply click on ‘Manage Sponsors’ directly below it.
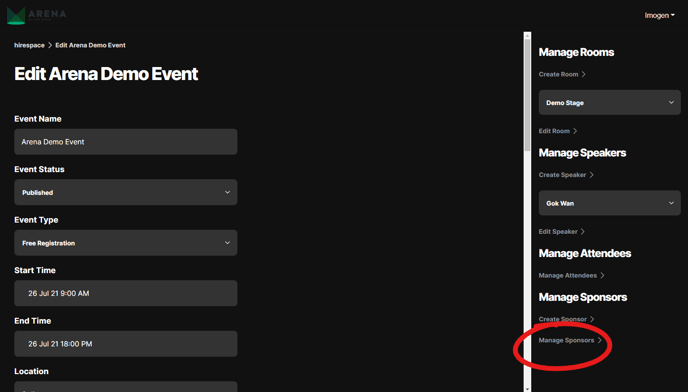
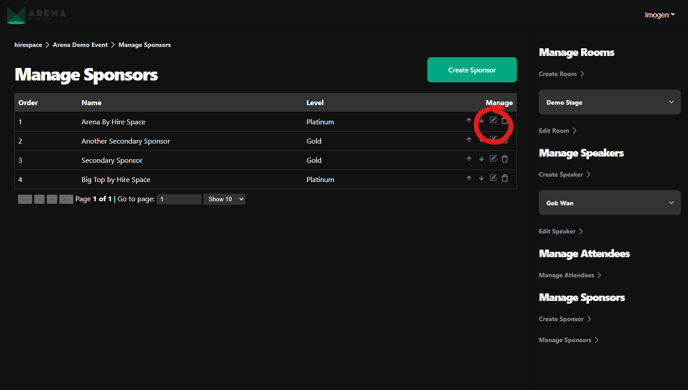
Here, you’ll see a list of all the sponsors you’ve added in the order that they’ll appear on your event’s ‘Sponsors’ page. To edit a sponsor, click on the edit icon to the right.
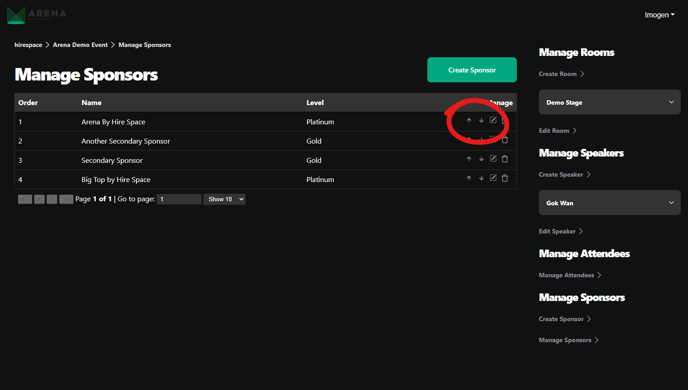
To change the order of your sponsors, use the up and down arrows.
You can also add more sponsors here by clicking on the big green ‘Create Sponsor’ button at the top of the page.
Ta-da! You’ve now created your sponsors and tweaked them to perfection.
Now you know how to add sponsors, you’re well on your way to creating your event on Arena. If you need further help, why not check out our articles on branding your event with custom themes or adding speakers? Good luck!
