
Here, we’ll take a quick look at how to set up your first event on Arena.
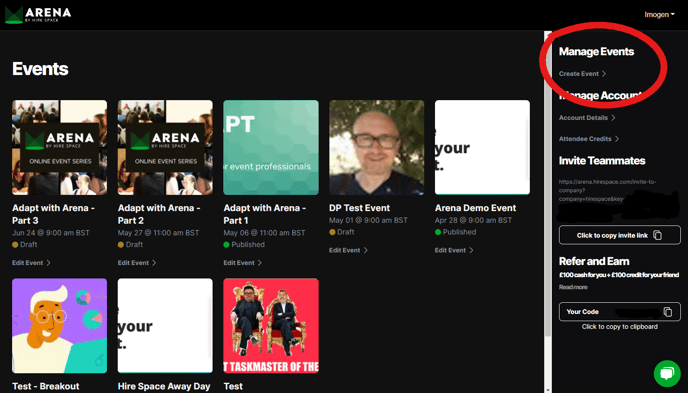
Once you’ve created your account, you can create new events from your central dashboard. The URL for your dashboard will look something like this:
https://arena.hirespace.com/youraccountname/events
Along the right-hand side, you should see a range of options to do with managing your account and events. At the top, under the heading ‘Manage Events,’ just click on the ‘Create Event’ button.
At this point, you’ll see a screen asking you to fill out all the important information about your event, such as your event’s name, description, images and more. Here’s what it will look like.
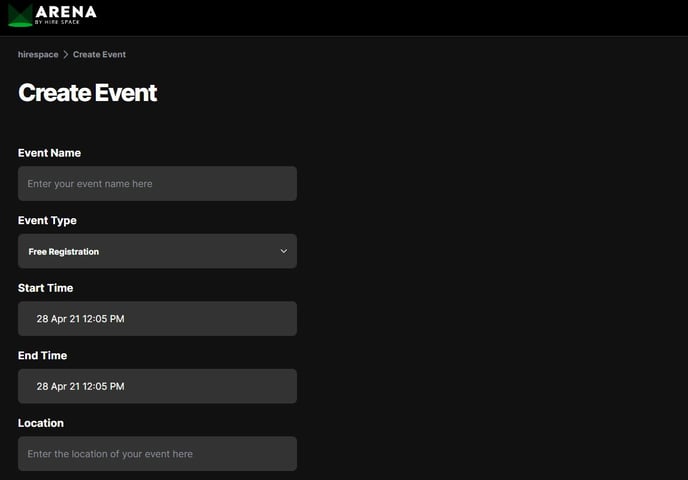
Here are some of the important things for you to consider when filling out your event details:
| Field | Notes |
| Event Name | This forms the URL for your event with hyphens replacing the spaces, all punctuation removed and everything made lower case. The URL cannot be changed so make sure to get it right! |
| Event Type |
Free Registration: Your event is open to anyone who registers. There are no limits on numbers unless you add a Ticket Type, in which case registrations are limited to the number of tickets available. Private Registration: Registration is limited to the attendees that you upload to this page. No other attendees may register. If you create Ticket Types with a limited number of tickets this may further limit registration. Quick Join: Quick Join is limited to attendees who you upload to your event. No other attendees may register. Attendees will only need to provide their email and will not be required to authenticate with a password when entering the event. |
| Location | This is intended to be used for hybrid events that also have an in-person component. If you are holding a virtual event, you can just leave this field blank or put ‘Online’. |
| Event Image | This image will show on your registration landing page and in the main event lobby. Its dimensions should be exactly 3 x 1. It can be as big as you like but 900 x 300 px is perfect. You may want to use it to showcase sponsors and speakers if you have a design available. |
| Materials | You can upload any number of materials such as PDFs etc. here. They will be available for download to all attendees at the bottom of the main lobby screen. |
| Event Meta Description | This will show as the meta description for your event pages. This is especially important when you are sharing links on social channels as it will populate the preview text when you share a link. It will also show in calendar invitations to summarise the event (read our guide on how to send calendar invites for help). |
| Event Long Description | This will show in the main event lobby, the registration landing page and the email accompanying your calendar invitations. It’s a very flexible field that uses markdown to allow you to include headings, lists, tables, images, quotes, and links. Please read more about markdown to learn how to use it here. |
Once you’ve filled out these basic details and hit the ‘Save’ button, the basic bones of your event are ready for you to play with.
Next, you’ll want to add Rooms, add Sessions and add speakers to make your event just how you want it. We have helpful articles on each step to guide you through the process – just browse through our knowledge base to find exactly what you need.